A step-by-step guide for Post Falls, Coeur d'Alene, and Spokane homeowners on what to do immediately after a burst pipe to minimize water damage, protect your home, and support your insurance claim.
By Matthew Ratautas | DryMax Restoration | March 2026
A burst pipe is one of those emergencies that goes from minor to catastrophic fast. One minute everything is fine, and the next you're standing in an inch of water trying to figure out what to do first. It happens to homeowners all across Post Falls, Coeur d'Alene, and Spokane every winter, and the difference between a manageable repair and a full-blown restoration project often comes down to how quickly and correctly you respond in those first 24 hours.
This guide walks you through exactly what to do, in order, so you're not guessing when it matters most.
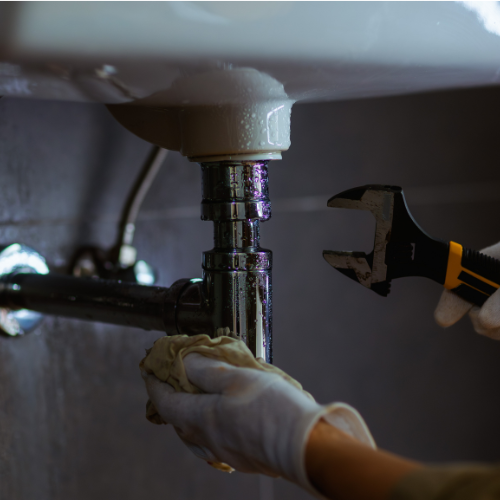
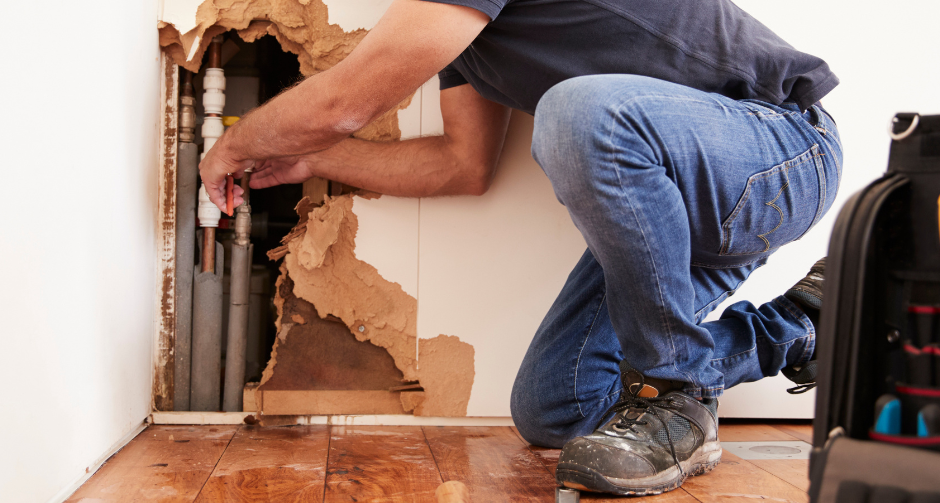
Step 1: Shut Off the Water Immediately
The first thing you need to do is stop more water from entering the pipe. That means finding your main water shutoff valve and turning it off right away.
In most homes in Kootenai County, the main shutoff is located near the water meter, which is often in the basement, crawlspace, utility room, or near the front of the house where the water line enters the foundation. If you don't know where yours is, now is a good time to find it before an emergency happens.
Turn the valve clockwise to close it. Once the water is off, open a faucet on the lowest level of the home to drain any remaining pressure out of the lines. This stops the flow and reduces how much additional water gets into the structure.
If the shutoff valve is also broken or inaccessible, call your water utility. Both the City of Post Falls and Coeur d'Alene have emergency lines for exactly this situation.
Step 2: Turn Off the Electricity in Affected Areas
Water and electricity are a dangerous combination. If a burst pipe has released water near your electrical panel, outlets, or any wiring, do not enter that area until the power is off.
Go to your breaker box and shut off the circuits for any rooms affected by the water. If the breaker box itself is in a flooded area, do not touch it. Call an electrician or your utility company before doing anything else.
The U.S. Fire Administration's guidance on flood safety specifically warns against entering water-damaged areas where electrical hazards may be present. It's not worth the risk.
Step 3: Document Everything Before You Touch Anything
Before you start pulling up wet carpet or moving furniture, take out your phone and document the damage. This step is critical for your insurance claim and it takes only a few minutes.
Walk through every affected room and record video. Then take still photos of:
• The burst pipe itself and where it is located
• Standing water on floors, in crawlspaces, or in the basement
• Water stains, bubbling paint, or warped materials on walls and ceilings
• Any personal property that has been damaged
• The water meter reading before and after shutoff if possible
The more thorough your documentation is, the stronger your insurance claim will be. Adjusters look for evidence of what was damaged and how bad it was before cleanup started. Don't skip this step even if you're anxious to start drying things out.
Our post on how to file an insurance claim for burst pipes and flood damage walks through the claims process in more detail if you want to know what comes next.
Step 4: Call Your Insurance Company
Once you've documented the damage, call your homeowner's insurance company to report the claim. Don't wait until the next business day if it's a weekend or evening. Most insurance companies have 24-hour claims lines for exactly this kind of emergency.
When you call, have the following ready:
• Your policy number
• A description of what happened and when you discovered it
• The location of the burst pipe
• A list of rooms and items affected
In most cases in Idaho and Washington, you have the right to choose your own restoration company. Keep notes on every conversation including the date, time, and name of who you spoke with.
It is also worth asking specifically about coverage for water extraction, structural drying, and mold prevention. These are all typically covered under sudden and accidental water damage, but the language varies between policies.
Step 5: Start Removing Standing Water
Once safety is confirmed and documentation is done, you can begin water removal. The faster water is removed from a home, the less damage it causes to flooring, subfloor, walls, and framing.
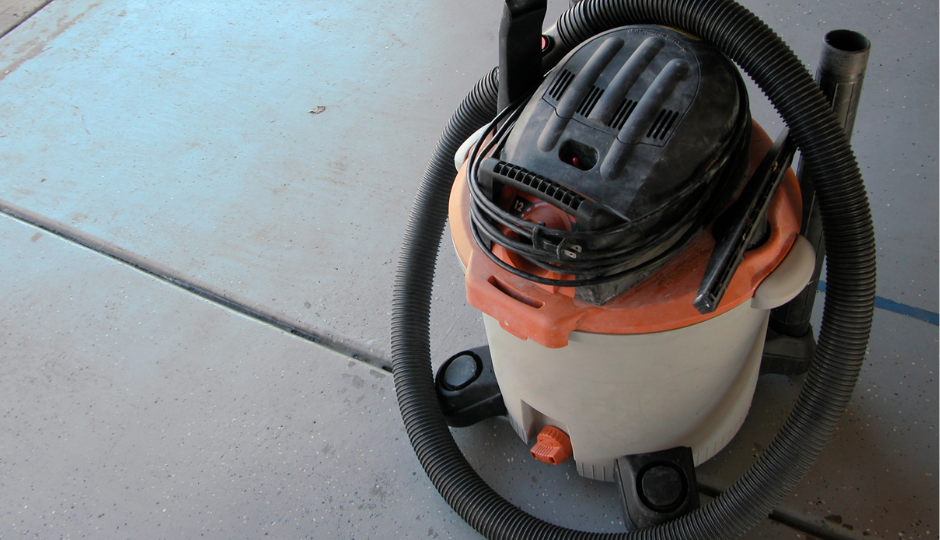
If you have a wet-dry shop vac, use it to pull water off hard floors and out of low areas. Mops and towels help on smaller amounts. If there is significant standing water, a submersible pump can be rented from most hardware stores in the area.
Remove soaked rugs and area rugs immediately and take them outside. Saturated rugs hold an enormous amount of water and slow down the drying of the floor beneath them.
According to the IICRC S500 Standard for Professional Water Damage Restoration, time is the single most important factor in limiting secondary damage after water intrusion. Every hour water sits in contact with building materials increases the potential for structural deterioration and mold growth.
For more on what happens when water damage is left too long, our post on what happens if water damage is left untreated for 30, 60, or 90 days lays out the full timeline of what to expect.
Step 6: Increase Airflow and Start Drying
After standing water is removed, the drying process begins. Open windows if outdoor temperatures allow. Run ceiling fans and any portable fans you have to move air across wet surfaces. If you have a dehumidifier, set it up in the affected area and empty it regularly.
Do not assume that because a floor looks dry on the surface, it is actually dry underneath. Water moves into subfloor, wall cavities, and insulation quickly, and those materials hold moisture long after the surface appears dry. In North Idaho's cooler spring and fall temperatures, drying times are slower than in warmer climates.
Avoid using forced-air heating to try to speed up drying. It can push moist air into unaffected parts of the home and create new moisture problems in places that weren't originally affected.
Step 7: Watch for Mold and Act Before It Starts
Mold is one of the most serious secondary consequences of a burst pipe. The EPA's guidance on mold and moisture states that mold can begin growing within 24 to 48 hours of water exposure on organic materials like drywall, wood framing, and insulation. In a home that has experienced a burst pipe, those conditions are almost always present.
Signs that mold may be developing include musty odors that appear within a day or two, visible discoloration on walls or ceilings, and persistent dampness in areas that should have dried out.
If the affected area is larger than about 10 square feet, or if mold is growing inside wall cavities or under flooring, this is not a DIY situation. Professional mold remediation involves containment, air filtration, and disposal procedures that aren't practical for most homeowners to replicate on their own.
Step 8: Call a Professional Restoration Company
Even if you've done everything right up to this point, a burst pipe that has released significant water into a home almost always warrants a call to a professional water damage restoration company. Here's why.
Professionals use moisture meters and thermal imaging cameras to find water that has traveled into areas you can't see. Water behind walls, under tile, and inside ceiling cavities is invisible to the eye but shows up clearly with the right equipment. If those areas aren't dried properly, they become long-term mold and structural problems.
Professional restoration also creates a documentation trail that supports your insurance claim. Moisture readings, drying logs, and equipment records all give your adjuster the evidence they need to process your claim accurately.
In Post Falls and Coeur d'Alene, a professional team can typically be on site within hours of your call. The sooner they can begin assessment and structural drying, the better the outcome for your home.
What Not to Do After a Pipe Bursts
As important as the steps above are, there are a few things that can make the situation significantly worse.
• Don't use a regular household vacuum to remove water. It is not designed for it and creates an electrocution risk.
• Don't run HVAC systems if water may have entered ductwork. This spreads contaminated air and moisture throughout the home.
• Don't assume the damage is only where you can see it. Water travels along framing and beneath flooring well beyond the visible wet area.
• Don't wait to call your insurance company. Late reporting can complicate or delay your claim.
• Don't throw away damaged materials before your adjuster or restoration team has documented them.
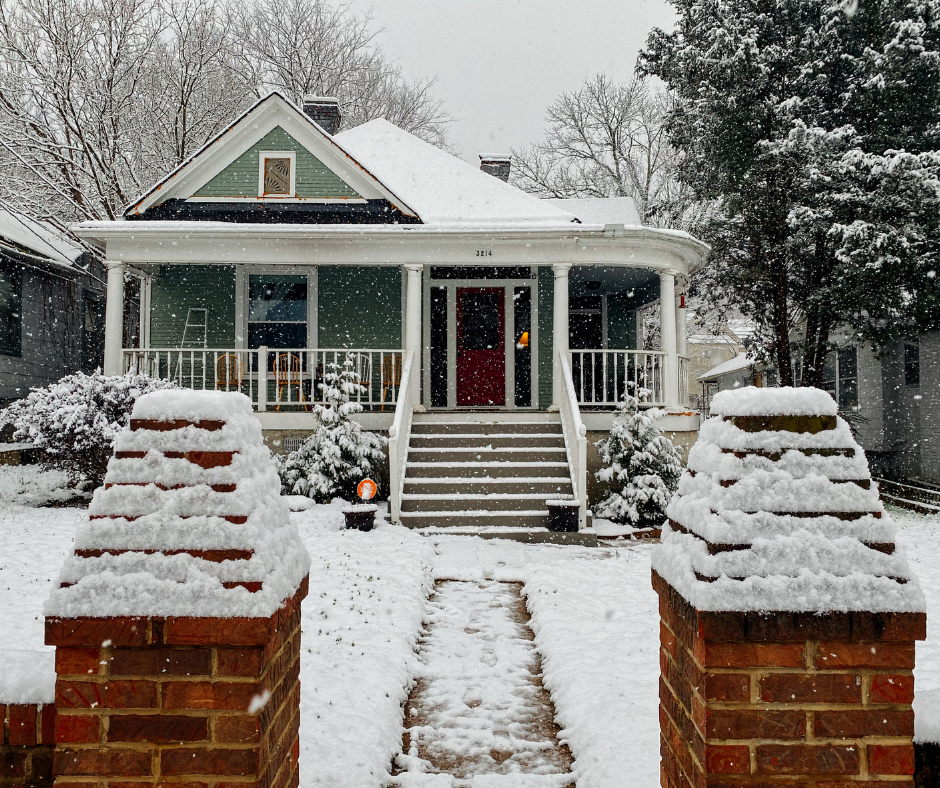
Why Burst Pipes Are So Common in North Idaho Winters
Post Falls and Coeur d'Alene see some of the most challenging conditions for residential plumbing in the region. Extended freezing temperatures, combined with older housing stock and pipes that run through uninsulated exterior walls or crawlspaces, create ideal conditions for frozen and burst pipes every winter.
Pipes most at risk include those in exterior walls, under kitchen and bathroom cabinets on outside walls, in unheated garages, and in crawlspaces without proper insulation or vapor barriers. Homes that are left unoccupied for any period during winter are especially vulnerable.
If your home has a crawlspace, it is worth understanding how moisture and freezing temperatures affect that space specifically. Our post on why crawlspaces in North Idaho homes stay wet long after winter ends covers the unique challenges crawlspace homes face in this climate.
Final Thoughts
A burst pipe is stressful, but the decisions you make in the first 24 hours have a direct impact on how much damage your home sustains and how smoothly your insurance claim goes. Shutting off the water, documenting everything, removing standing water quickly, and calling professionals before hidden moisture becomes mold are the steps that separate a contained repair from a months-long restoration project.
North Idaho winters are hard on plumbing. Knowing exactly what to do before it happens is the best preparation any homeowner can have.
If a pipe has already burst in your home, or you want to know what steps to take to prevent it from happening in the first place, have you talked to a local restoration professional about what your specific home's risk factors actually are?