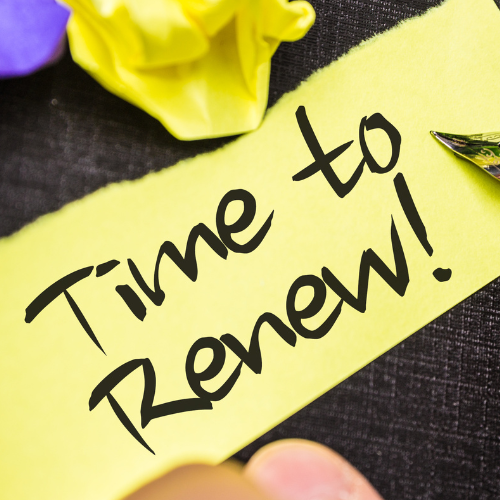
A clear, honest walkthrough of what professional water damage restoration involves from the first call to final sign-off, so Post Falls and Coeur d'Alene homeowners know exactly what to expect.
By Matthew Ratautas | DryMax Restoration | May 2026
Most homeowners in Post Falls and Coeur d'Alene have never dealt with a professional water damage restoration before. When a pipe bursts or a washing machine overflows or a crawlspace floods, the whole process can feel overwhelming and unfamiliar. You have a restoration company showing up with equipment you've never seen, insurance adjusters calling with questions, and decisions to make quickly about your own home.
Not knowing what to expect makes a stressful situation harder. This guide exists to change that. Here is what professional water damage restoration actually looks like from start to finish, written plainly so you know what's happening at each stage, why it matters, and what your role is throughout the process.
Every water damage situation is different, and restoration timelines vary based on the size of the affected area, the type of water involved, and the materials affected. But the general sequence of steps is consistent, and understanding it puts you in a much better position to ask the right questions and make confident decisions.
Step 1: The Initial Call and Emergency Response
The process starts with a phone call. When you contact a professional restoration company, the first conversation is focused on understanding what happened, whether the situation is still active, and what immediate safety concerns need to be addressed.
A quality restoration company will ask about the source of the water, how long it has been present, what areas of the home are affected, and whether there are any electrical or structural safety concerns. They will give you guidance on immediate steps to take before they arrive, including shutting off the water supply if the source is still active and avoiding areas with potential electrical hazards.
Response time matters significantly in water damage situations. The faster water is extracted and drying begins, the less damage occurs to flooring, subfloor, walls, and framing. Most professional restoration companies serving Post Falls, Coeur d'Alene and Spokane aim to be on site within a few hours of the initial call for emergency situations.
Our post on what North Idaho homeowners should do in the first 24 hours after a pipe bursts covers the immediate steps you should take before the restoration team arrives. Following those steps correctly can make a meaningful difference in the scope of damage the team encounters when they get there.
Step 2: Assessment and Moisture Mapping
When the restoration team arrives, the first thing they do is assess the situation before any equipment is set up or materials are removed. This assessment phase is critically important and it's one of the things that separates professional restoration from a DIY cleanup.
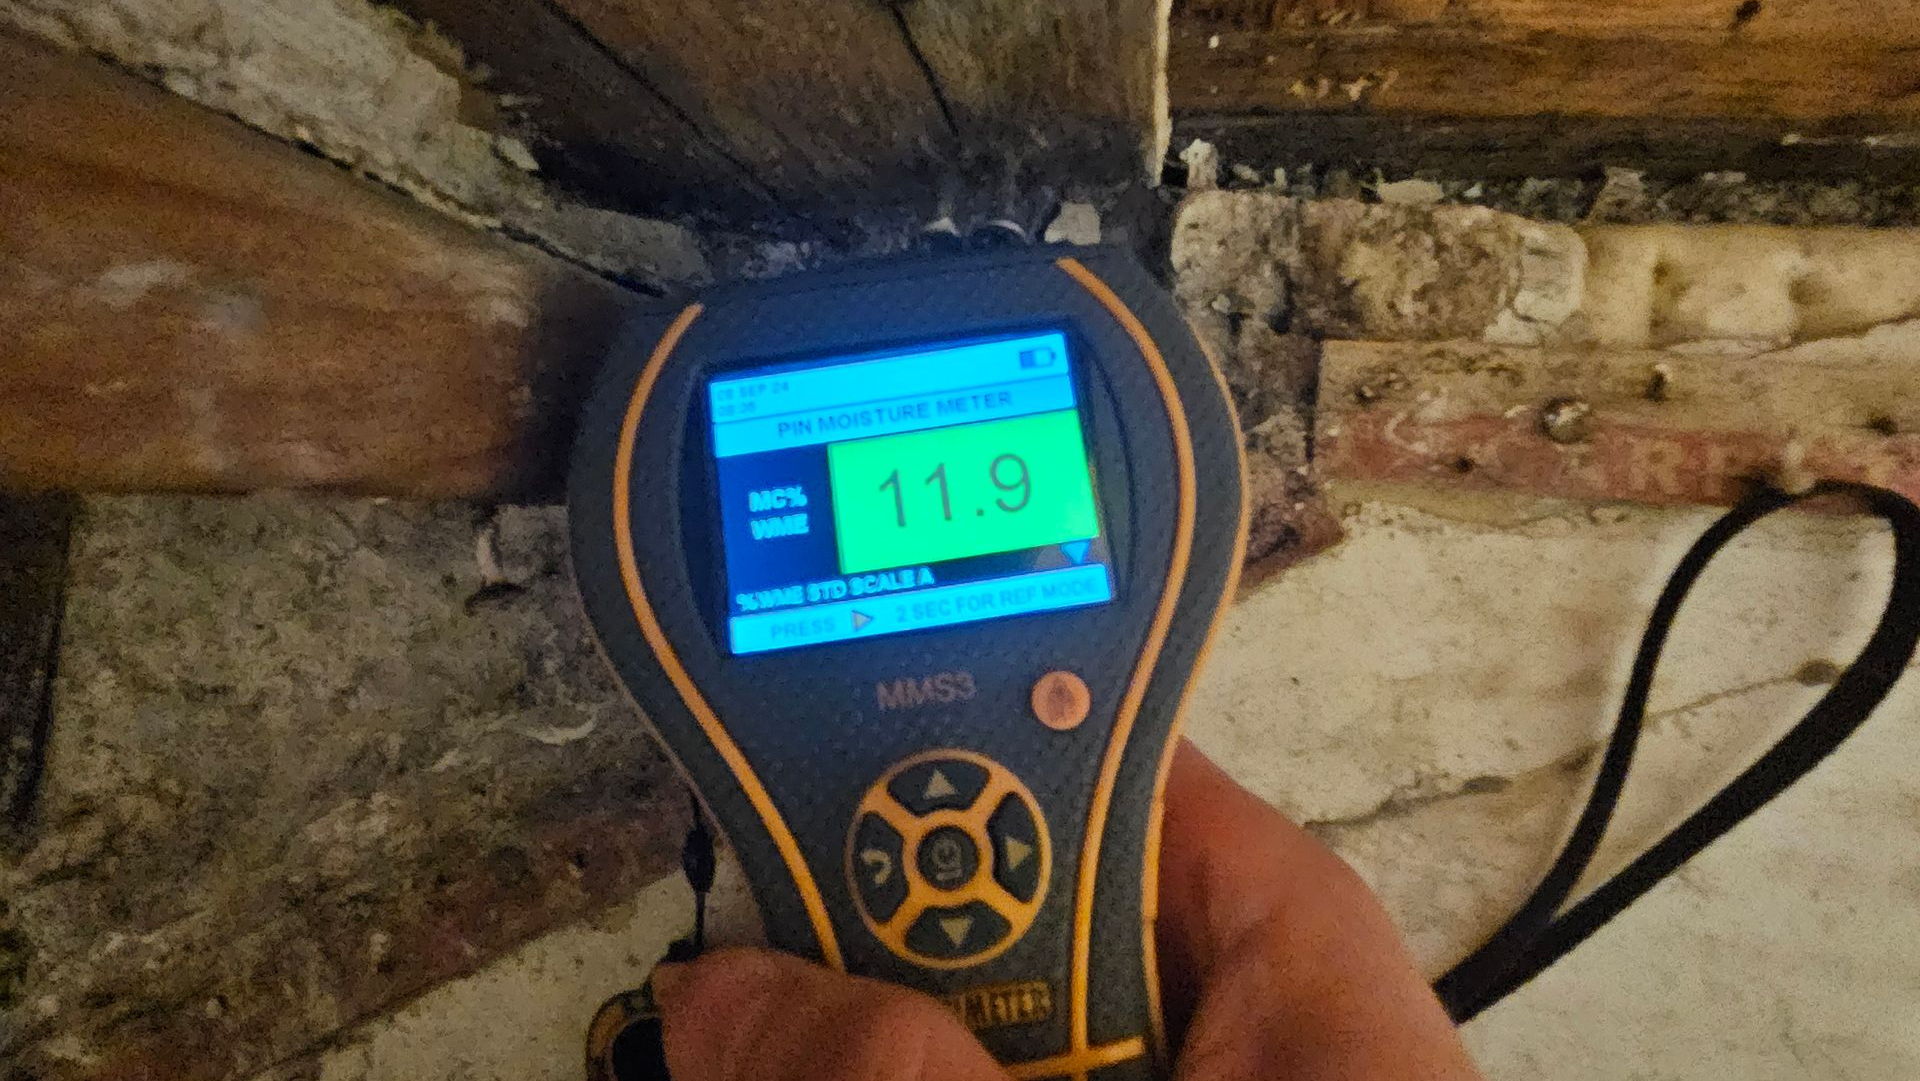
Moisture Meters and Readings
Technicians use handheld moisture meters to measure the moisture content of building materials throughout the affected area and beyond. Wood, drywall, concrete, and other materials all have baseline moisture content levels. Readings above those baselines indicate where water has penetrated. These readings are taken at multiple points across floors, walls, and ceilings and documented as a moisture map of the affected area.
This moisture mapping is essential because water doesn't stay where it lands. It travels along framing, under flooring, through wall cavities, and into areas that look completely dry from the surface. A burst pipe in a laundry room can produce moisture readings in the adjacent hallway, the bedroom next door, and the crawlspace below, all without visible water in those locations.
Thermal Imaging
Many professional restoration companies also use thermal imaging cameras during the initial assessment. Thermal cameras detect temperature differences in building surfaces. Areas where moisture has penetrated are cooler than dry surrounding materials, showing up as distinct color signatures on the thermal image. This technology allows technicians to find hidden moisture behind walls and under flooring without tearing into the structure unnecessarily.
Water Category Assessment
Professional restorers also assess the category of water involved in the damage. The IICRC S500 Standard for Professional Water Damage Restoration defines three water categories. Category 1 is clean water from supply lines or rain. Category 2, sometimes called gray water, is water that carries some contamination, such as washing machine overflow or dishwasher discharge. Category 3, or black water, is grossly contaminated water including sewage backflow or rising floodwater. The category of water affects how the restoration team approaches extraction, cleaning, and material salvageability.
If your water damage involves sewage or contaminated water, the response is more involved than a standard clean water event. Our post on sewage backflow causes dangers prevention and professional cleanup explains what Category 3 water damage requires and why professional handling is especially important in those situations.
Step 3: Water Extraction
Once the assessment is complete and the scope of the damage is mapped, extraction begins. This is the process of physically removing standing water and as much moisture as possible from affected materials before drying equipment is deployed.
Professional restoration companies use truck-mounted or portable extraction units that are significantly more powerful than anything available at a hardware store. These units can pull water from carpet, padding, hardwood flooring, and subfloor materials at a rate that dramatically accelerates the drying process compared to mops, towels, or consumer wet-dry vacuums.
During extraction, the team will typically remove saturated carpet and padding. Carpet can sometimes be salvaged if it was clean water and extraction happens quickly enough. Carpet padding almost never survives and is nearly always removed and disposed of. This is the right call. Padding holds moisture like a sponge and becomes a significant mold risk if left in place during drying.
Flooring materials like hardwood, engineered wood, and laminate are evaluated during extraction. Hardwood can sometimes be dried in place if moisture readings haven't exceeded certain thresholds and the response was fast. Laminate almost always requires removal because it traps moisture between the planks and the subfloor and doesn't dry effectively from the top down.
Step 4: Controlled Demolition When Necessary
This is the step that surprises many homeowners the most. In a significant water damage event, professional restoration often involves removing materials that appear intact, including sections of drywall, baseboards, flooring, and sometimes insulation. This is sometimes called controlled demolition or flood cuts, and it's done for very specific reasons.
Water that has entered wall cavities saturates insulation and coats the interior face of drywall paper. Neither of those materials can be effectively dried while they're enclosed in a wall cavity with limited airflow. Leaving wet insulation and drywall paper inside walls creates ideal conditions for mold growth and long-term structural deterioration.
A flood cut involves removing drywall from the bottom of affected walls up to a point above the moisture line, typically 12 to 18 inches above the highest moisture reading. This exposes the wall cavity, allows the framing inside to be properly dried, and permits visual inspection of the interior for any early mold development.
It feels counterintuitive to cut into walls that look fine from the outside. But drywall and insulation are relatively inexpensive to replace. The framing behind them is not. Controlled demolition done correctly during the drying phase is almost always less expensive than structural repairs needed later because wet materials were left in place.
Understanding why hidden moisture is so damaging helps explain why controlled demolition matters. Our post on what happens if water damage is left untreated for 30, 60, or 90 days explains the progression of structural and mold damage over time when moisture is left inside building materials.
Step 5: Structural Drying
Structural drying is the core of the restoration process and the phase that takes the most time. Once extraction is complete and any necessary demolition has been performed, professional drying equipment is set up throughout the affected area and monitored daily until moisture levels return to acceptable baseline readings.
Air Movers
Air movers are high-velocity fans that create airflow across wet surfaces. They work by accelerating evaporation, pulling moisture from wet materials into the air. In a typical water damage drying setup, multiple air movers are positioned to create a consistent airflow pattern across affected floors, walls, and ceilings. The positioning matters as much as the quantity. A well-positioned air mover setup dries materials more efficiently than simply placing fans in the affected rooms.
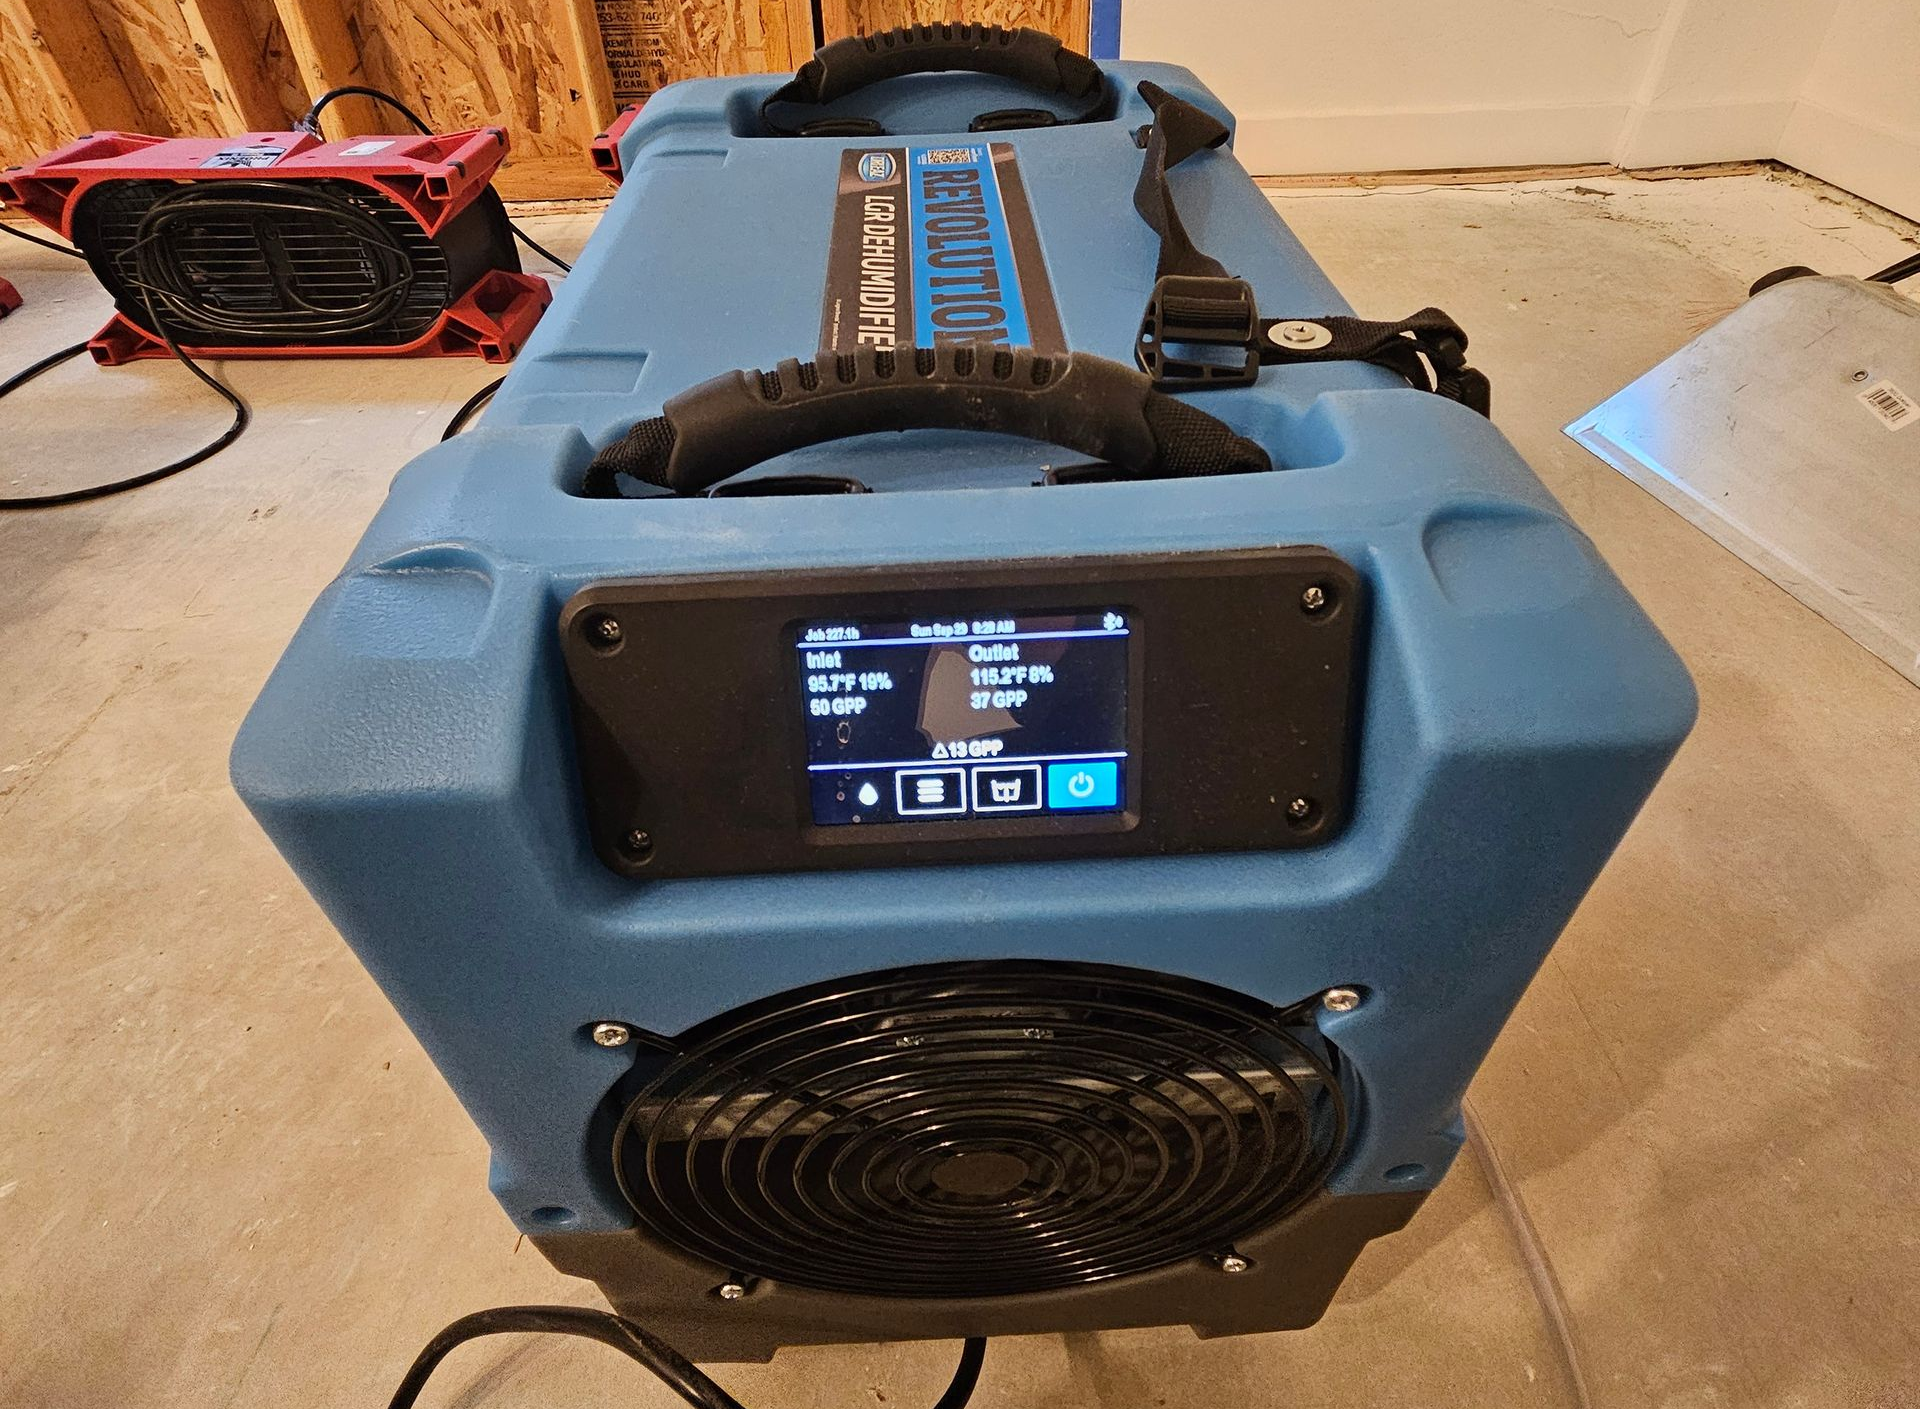
Dehumidifiers
Air movers move moisture from wet surfaces into the air, but that moisture has to go somewhere. Industrial dehumidifiers capture the airborne moisture and remove it from the space, preventing the air from becoming saturated and stopping the evaporation process. Professional dehumidifiers operate at a significantly higher capacity than consumer units and are sized to the square footage and moisture load of the specific drying environment.
The combination of air movers and dehumidifiers working together creates a controlled drying environment. Without dehumidification, air movers simply move moisture around the space rather than removing it. Without air movers, dehumidifiers work much more slowly because they depend on moisture entering the air before they can capture it.
Drying Monitoring and Daily Readings
Professional drying is not a set-it-and-leave-it process. Technicians return to the site daily to take moisture readings throughout the affected area, document the progress, and adjust equipment positioning or quantity based on what the readings show. A drying plan that worked well on day one may need adjustment on day three if certain areas are drying more slowly than expected.
This daily monitoring and documentation creates the drying log that serves as evidence for your insurance claim. Moisture readings at the start and end of each day, equipment placement records, and the final dry-down readings all go into a report that documents the work performed and the results achieved.
Step 6: Mold Prevention and Antimicrobial Treatment
During and after the drying process, professional restoration teams apply antimicrobial treatments to affected framing, subfloor, and other structural materials. These treatments are designed to inhibit mold growth during the drying period and to address any early surface mold that has developed in areas where the damage was present for some time before restoration began.
The EPA's guidance on mold and moisture is clear that mold can begin growing within 24 to 48 hours of moisture exposure on organic materials. In a water damage situation where any time has passed between the event and the professional response, mold prevention treatment is a standard and necessary part of the process.
If mold is already visibly established in affected areas, the scope of work shifts to include formal mold remediation in addition to water damage restoration. Mold remediation involves containment of affected areas to prevent spore spread, removal of mold-affected materials, HEPA air filtration, and documentation that the remediation was completed to IICRC S520 standards.
Not every water damage event requires formal mold remediation. Events caught quickly and dried professionally often don't develop visible mold at all. But any situation where water has been present for more than 24 to 48 hours warrants careful assessment of surfaces for early mold development before reconstruction begins.
Step 7: Final Moisture Verification and Sign-Off
Before any reconstruction begins, the restoration team takes a final set of moisture readings throughout the affected area to confirm that all materials have reached acceptable baseline moisture levels. This is the dry-down verification that serves as the official end of the drying phase.
Materials are considered dry when their moisture content readings return to the baseline levels for that material type in the specific environmental conditions of the home. These baselines vary by material and by the ambient conditions of the region. A professional restorer uses the IICRC S500 drying standards as the benchmark for what constitutes an acceptable dry-down.
The final moisture verification report is an important document for your records and for your insurance file. It proves that the structure was professionally dried to standard before reconstruction began. If mold or structural issues appear later, this documentation is critical evidence that the restoration work was done correctly.
The IICRC's certification standards for water damage restoration technicians ensure that certified professionals understand these drying standards and how to apply them correctly. When choosing a restoration company, asking whether their technicians hold IICRC WRT certification is one of the most direct ways to verify that the drying verification will be done to professional standards.
Step 8: Reconstruction
Once the structure is verified dry, reconstruction can begin. Reconstruction is the phase where everything removed during demolition is replaced: drywall is hung and finished, flooring is reinstalled, baseboards go back on, paint is applied, and the home is returned to its pre-loss condition.
It's worth noting that reconstruction is a separate scope from restoration. Some companies handle both. Others specialize in restoration and refer reconstruction to general contractors. Knowing which approach your restoration company takes is worth clarifying early in the process so there are no gaps in coverage between the drying and rebuilding phases.
Reconstruction timelines vary considerably based on the scope of materials removed and the availability of matching materials. A straightforward drywall and paint restoration in one room might take a few days. A larger event involving flooring replacement, subfloor repair, and finish work in multiple rooms can take several weeks.
During reconstruction, your insurance adjuster will typically review and approve the scope of work and materials before work begins. Understanding what your policy covers for replacement materials is worth clarifying with your adjuster before reconstruction gets underway, so there are no surprises about coverage limits.
How Long Does the Whole Process Take?
This is one of the most common questions homeowners ask, and the honest answer is that it varies. A small, clean water event caught quickly in a single room might be dried in three to five days, with reconstruction complete in a week or two. A larger event involving multiple rooms, Category 2 or 3 water, or significant material removal can take several weeks for drying alone, followed by weeks of reconstruction.
The drying phase is not something that can be rushed safely. Attempting to reconstruct over materials that haven't reached dry-down standards leads to mold problems and structural issues that are far more expensive to address later. Professional restoration technicians are doing their job correctly when they insist on completing the drying verification before reconstruction begins, even if the timeline feels frustratingly slow.
For homeowners who want context on why the pace of professional drying matters, our post on why hiring IICRC certified technicians protects your home explains the standards that guide professional restoration work and why certification matters for the quality and completeness of the outcome.
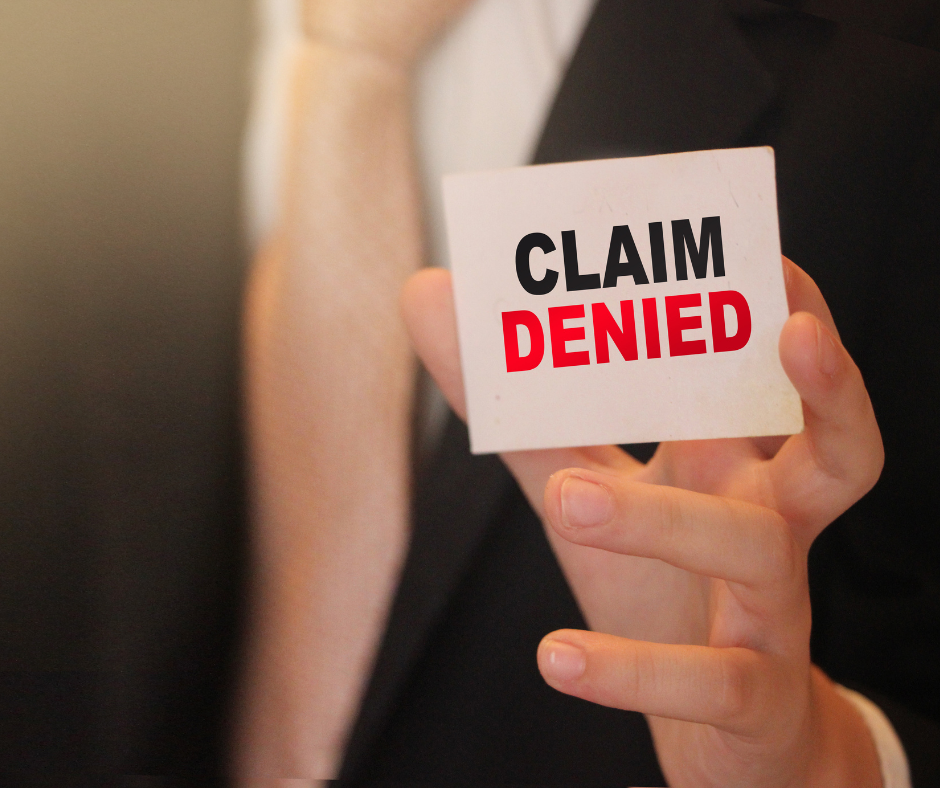
Working with Your Insurance Company Throughout the Process
Water damage restoration almost always involves an insurance claim, and understanding how to work with your insurer throughout the process makes the whole experience smoother.
Document everything from the moment you discover the damage. Photos and video before any cleanup begins are the foundation of a strong claim. Keep records of every conversation with your insurance company including dates, times, and the names of who you spoke with. Save any receipts for emergency expenses like temporary lodging if the home is uninhabitable during restoration.
A professional restoration company will typically provide your insurance adjuster with a detailed scope of work, moisture documentation, equipment logs, and a final report. This documentation is what adjusters use to process the restoration portion of your claim. Companies that don't provide this level of documentation create problems for your claim even if the physical work was done adequately.
For a detailed walkthrough of the insurance claim process specifically, our post on how to file an insurance claim for burst pipes and flood damage covers what to expect from your insurer and how to document your claim effectively from the first call through final settlement.
Final Thoughts
Professional water damage restoration is a structured, documented process built around the science of how water moves through building materials and how those materials are safely returned to a dry, stable condition. It's not just fans and mops. It's moisture mapping, category assessment, controlled extraction, engineered drying, verification to professional standards, and a complete documentation trail that protects both your home and your insurance claim.
Homeowners who understand the process going in are better equipped to ask the right questions, recognize when work is being done correctly, and make informed decisions at each stage. The restoration process can still be stressful and disruptive even when everything goes right. But knowing what each step is for and why it matters takes some of the uncertainty out of an already difficult situation.
Now that you have a clearer picture of what professional restoration involves, do you feel confident you would know what to look for and what to ask if you had to hire a restoration company tomorrow?